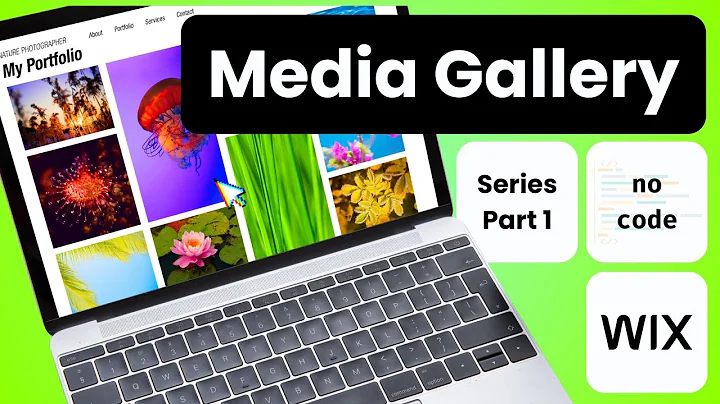
Wix Media Gallery Tutorial [Part 1] - Basic Setup, Connect to CMS, Dynamic Pages
Wix Media Gallery Tutorial Part 1] - Basic Setup, Connect to CMS, Dynamic Pages
Hey there, Wix wizards! 🌟 Welcome back to another insightful dive into the magical world of Wix provided by yours truly, Aton. Whether you're new to the scene or looking to fine-tune your existing skills, this blog post has got you covered! Today, we're unlocking the creative potential of Wix media galleries, exploring everything from setup to dynamic pages, and showcasing how you can allow users to upload images, all without a single line of code. Let's get started, shall we?
Adding Your First Media Gallery
The first step to mastering media galleries is knowing how to add them to your Wix site. It's super easy! Just navigate to the plus button labeled "Add Elements." From here, you'll see a "Gallery" option. Choose any type that tickles your fancy — they all display images but in eye-catching, unique ways. Remember, the nuances between these galleries only emerge when we dive into the coding aspect, which we’ll tackle in future posts.
To keep things simple, start with a Pro Gallery. Add it to your site, and voilà! Wix provides a selection of default images. Want to change them? Click "Manage Media," and you'll be able to remove or add images effortlessly.
Static vs Dynamic Galleries
Our newly added gallery is static. This means any changes are made directly via the Wix editor. It's perfect for smaller sites, but for richer, ever-evolving galleries, connecting them to data via CMS is your best bet. So let’s dive into how you can do just that!
Connecting Your Gallery to CMS
Most people will eventually need a dynamic gallery that connects to a data collection. Enter Wix CMS — your ultimate tool to manage image data like a pro. Here's a quick run-through:
- Build a Collection: Think of it as an advanced spreadsheet. Each collection, or dataset, comprises items (rows) and fields (columns).
- Add Media: Within your collection, use a media gallery field to store multiple images per item. Alternatively, utilize image fields for a single image per item, depending on your gallery needs.
By setting up your gallery to connect with a Wix Collection, you can control it through your Wix dashboard or editor. Make sure to create a dataset (like a bridge) to enable this connection.
Connecting the Gallery to a Data Collection
For a traditional gallery where each image represents a unique item:
1. Add Dataset: Use the CMS panel to add a “content element” or dataset to your page.
2. Configure Settings: Set it to “read” or “write” mode, depending on your goal.
3. Link Galleries: Click your gallery’s squiggly snake icon to connect it to your dataset.
For each image to represent a gallery within an item:
- Use the “Media Gallery Field” rather than an image field in your dataset.
- Connect your gallery to display images according to this field.
Dynamic Pages and Advanced Linking
Dynamic pages are where things get spicy! They allow you to create templates that pull data from your collections, rendering customized views for users dynamically.
- Create a Dynamic Page: Right from your collection, generate a list or item page.
- Design Templates: Customize these pages with galleries that reflect your dataset.
- Connect Home Gallery: Use your home gallery to navigate to different dynamic pages by linking via dataset titles or custom fields.
The magic of dynamic pages is unmatched, offering a personalized user experience without complex coding.
Enabling Image Uploads for Users
Let’s talk about interactivity. Allowing users to upload their images is not just an excellent way to engage but also to enhance your content dynamically:
1. Modify Permissions: Ensure your collection's permissions allow user submissions—customize this to your security needs.
2. Add Input Elements: Use input fields and upload buttons linked to a “write” dataset.
3. Facilitate Submissions: Guide users through file upload and submission process with clearly labeled buttons and feedback messages.
Ready to see these wonders in action? Click [here to dive in deeper!
At NewForm, we’re all about honing your design skills, helping you find opportunities in the marketplace, and connecting you with industry leaders. We offer monthly web design challenges with cash prizes, weekly skill-building events, and exclusive monthly guest sessions featuring top professionals in web design. Here, you get to learn directly from the best, access invaluable resources, and build cool things online.
So, if you’re ready to elevate your skills and join a community of like-minded creatives, now’s the time! Without further ado, dive into NewForm for more incredible opportunities!
Catch you in the next part of our series, where we’ll take these concepts even further with some coding magic. Until then, keep creating amazing things! 🎨


